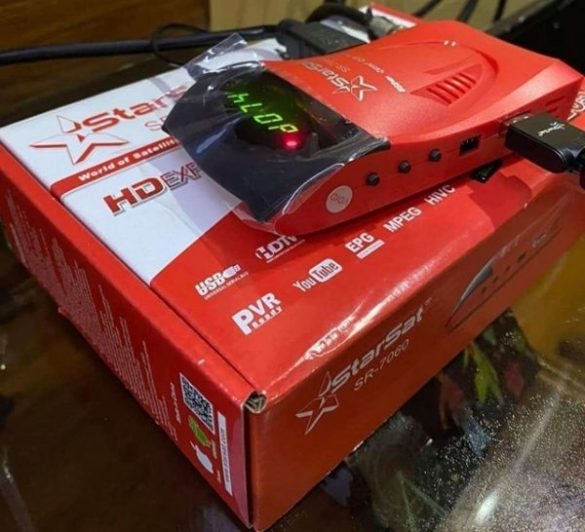
To activate server and patches with codes is the next step after acquired a Forever Server receiver. Whether the brand name, be it Tigerstar, Starsat, Mediastar, Geant, Vision, and more, such receivers must support the Forever server. And the patch codes are universal, i.e., all the codes can work on all the forever server enabled-receiver.
When you hear patch codes for the first time, well, I’m talking of the hidden menus that are off by default. Before scanning any satellite tv channels on the receiver, I will advise you to upgrade the receiver to the latest version for all the expected features to work correctly.
SEE ALSO:
- BISS Key: How To Manually Enter Biss Key
- How To Updates Plugins On Icone Receiver
- How To Install Satellite TV Dish And Receiver


Patch Codes For Enabled Receivers
S/N | Patch Codes | Activation Purposes |
1. | F1 + 000 | Activate and disable the patch |
2. | F1 + 111 | Displays the active menu and disables Dongle / Side Apps settings such as SSSP and RS-232 and activates Air and Internet Sharing |
3. | F1 + 222 | Display ECM LIST |
4. | F1 + 333 | Display coding menu to card channels (for manual coding of BISS and DCW systems) |
5. | F1 + 444 | Displays the BoxKey menu |
6. | F1 + 555 | Displays the IP Settings menu |
7. | F1 + 666 | Display the Server Settings menu |
8. | F1 + 777 | Automatic capture of the IP |
9. | F1 + 888 | Save information and reboot the device |
10. | F1 + 789 | Time Shifting Activation |
11. | F1 + 0852 | Factor reset or factory setting |
12. | F1 + 999 | Display the dish menu settings menu |
13. | F1 + 147 | Encoding table |
14. | F1 + 456 | Enable and disable Wifi |
15. | 0 for color settings / shortcut settings | |
16. | OK + 0 | Edit the channel directly |
17. | USB + Sat + 1113 | Low volume dial (with channel name and no switch / motor information) |
18. | USB + Sat + 1114 | Small volume dial (with database name with switch / motor information) |
19. | F1 + OK | Channel Sorted by: Alphabet – Frequency – Free / Cards – Default – Instant – Alphabet / Cards / Free – Projder – Identity – SDS mode (only when Airing is active) |
20. | USB + Sat + 2415 | View features like serial / and chip info |
21. | USB + Sat + 1115 | Get the capture with the title Image |
22. | USB + Sat + 1116 | Get a USB stick with Usb Upgrade |
23. | USB + Sat + 1117 | Get a USB stick with Usb Boot Upgrade |
How To Upgrade And Activate Forever Server Enable Receivers
- First of all, Visit SatDL to download the latest software.
- Extract the software into the root folder of your flash drive usually in file_name.bin
- Insert the USB drive in your forever server enabled receiver.
- Proceed to the “USB Menu” or “Expansion” (in some receiver).
- Locate the downloaded software.
- Press the OK button to start upgrading; Please note that there should be no power failure to avoid soft brick your receiver.
- Once the receiver finished upgrading
- Connect the receiver to the “Internet.” Using the “Network config.” menu, choose your preferred network type and connect.
- Once you connected to the Internet, then press exit to the home screen.
- Fast press F1 + 666 or F1 and 666 from your remote control.
- Toggle on the “Forever Server ” Icon to connect to the server
- Wait for a few seconds. It will display “Server Connected,” then you’re done.
SEE ALSO: