
Hi guys, I’m gonna teach you DIY installation guide for C-band Ground and Polar mounted dish. In this article, I will teach both the satellite tv installer or layman on how to install C-band ground and polar mounted dish. Also get you familiar with satellite C-band dish accessories and where you can purchase them.
There are two ways you can install C-band which includes:
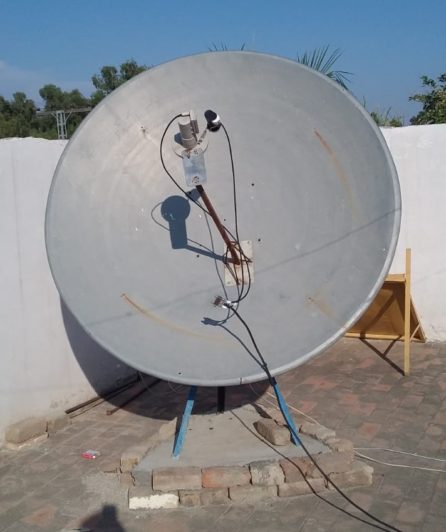
- Ground Mounted
- Polar Mounted
Site Survey
For any good C-band dish installation, Site survey is the first step because it will ensure the proper operation of the C-band satellite system. A good site survey must consider the following conditions which includes:
- There must not be unobstructed materials to the satellite position
- Check the satellite you wish to install from your site if it is available by using compass settings to select the nearest location and azimuth.
- Will seasonal foliage cause the problem?
- Are there sources of terrestrial interference that needs to be considered?
- Is the surroundings that the dish need to be anchored in solid?
Try to test the LNB, connect the LNB to the receiver or satellite meter without dish. If the LNB detect signal strength bar on the screen then the LNB is in good condition otherwise replace the LNB with good one.
Also make sure there’s no transmissions between 3.7 to 4.2 GHz frequency band, which may cause problem during the C-band dish installation. Avoid mounting dish close to mobile network tower as it causes interference in most case.
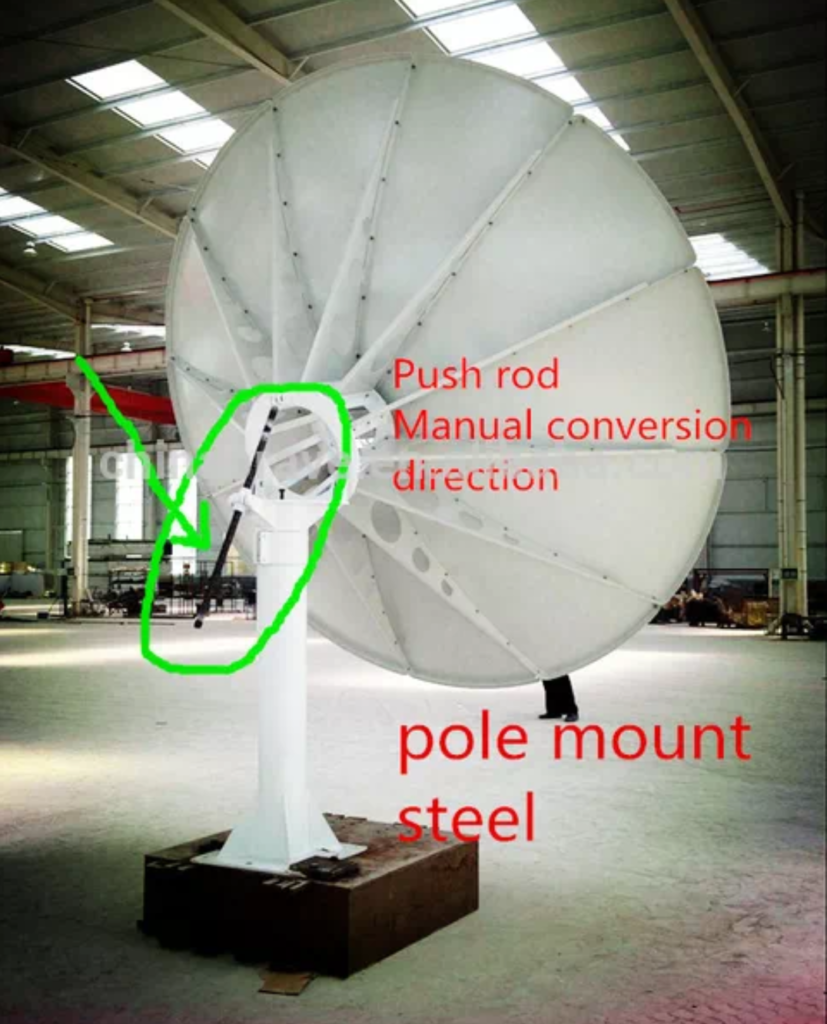
Mounting The C-band Dish Pole
A properly installed dish requires a well concrete surface and anchored solid base. It is good to fill the pole surroundings with concrete to ensure solid base. This will stiffen and strength the base for accurate reception of both C-band and KU band signals. While Mount the pole inside the ground, you need to do the following tips such as:
- Use braces welded or drilled through the pole to prevent turning in the concrete while the C-band dish is under the load
- Verify whether the pole is straight and accurate plumb in three sides
- Wait for at least 20-24 hours for the concrete to harden before mounting the dish on the pole
- Make another concrete with four edges or slap on the surface
It is good to use pure cement if you are in a region where storms is common, and if you’re in harden surface area, one bag of cement is okay or call bricklayer for an assistance.

C-Band Dish Assembly And Mounting
Every purchased dish antenna comes with user manual with directions for assembling, make sure you read and understand the guidelines on the manual before attempting to assemble the dish. These are the important things you need to know:
- To avoid scratches of the surface of the dish, it is good to place carpet or sheet on the floor
- Make sure the dish shape is perfect, All the measurement must be the same while using a string of rope or measuring tape to measure the diameter in three sides
- Use a piece of string across the diameter of the dish in two sides. Make sure the strings touch the center of the dish. maintain the balance of both hard and soft touch for properly assemble
- Applying washers for securing bolts and do not over tighten the bots and nuts

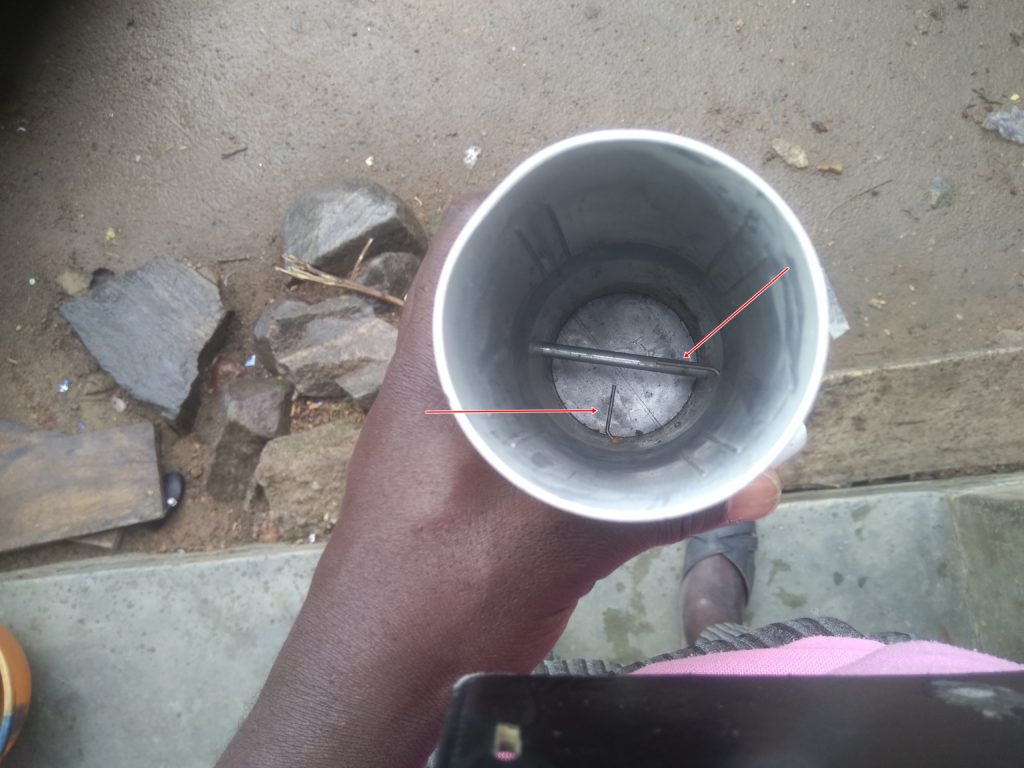
Mounting The C-Band LNB
The basic function is just a reflector that focuses the energy obtained into a small tube known as LNB (Low Noise Broadcast). There are two small metal inside the C-band LNB, One is place vertical and the other is place horizontal.
Never assumed that tripod standing holding the scaler ring are of the same length, so you have to check it and correct where necessary. This will make the LNB position at the center of the dish. Each edges of the dish from tripod stand usually measure in 1mm to the scaler ring. Make sure you use followed-come scaler ring, as the will make the C-band dish Installation easy with good signal quality.
Focal Depth Measurement
The focal depth i.e (f/D) ratio is the focal distance of the dish (f), divided by the diameter (D). When installing prime focus dish antenna. In C-band dish installation, numbers are written on the LNB range from 30-42 for LNB placement. It serves as adjustment for the C-band LNB to see the wide and to determine at what scale get high signal.
To calculate the focal length, you need to measure the depth (d) and diameter (D) of the dish at the unit. let’s take for instance, suppose we have a dish with 120 inches in diameter (D) and 18 inches in depth (d). The focal distance (f) equal to the square of diameter (D x D) divided by 16 times of the depth (d).
Mathematically Expression as thus:
D x D = 120 x 120 = 14400
16 x d = 16 x 18 = 288
f = D x D/16 x d = 14400/288 = 50
Therefore, the focal length (f) = 50 inches
Then, to calculate the (f/D) = 50/120 = 0.4167
One of the advantages of C-band LNB possessed the scale written on it to fine tune and determine focal depth.
Polarirty Skew
Polarity skew simply means fine tune the signal polarity from the starting point (Zero) to either vertical or horizontal. It can also be regarded as longitude and latitude adjustment as it enhance dish alignment.
Running The Coaxial Cable
There are many things you need to take note at while running the cable which includes:
- Always use original satellite cable, RG6 is good for short distance of 50m while RG11 is good for longer distance.
- Don’t leave the cable where it can be expose to scratches and damage like rat or dog.
- Avoid too much loops or joining the cable more than one
- Avoid bending the cable in a tighter curve condition.
- Never use metal clips or staples to hold the cable rather use plastic clips.
Setting up The Receiver/ Satellite Meter
First of all, make sure the receiver is off from the wall socket. Connect the coaxial cable to the LNB-IN, and AV or HDMI to the TV. Now power on the receiver from the wall socket, allow the receiver to complete booting and wait for 10 seconds before you do anything. Lastly, proceed to installation menu and start C-band dish installation, Later on I will teach you how to align the dish. You can visit here for all satellite dish and accessories.
SEE ALSO:
Good work, keep it up
Thanks bro